Pipes are meant to be used, not slowly retired because they got gross.
Ash and residue build up. Airflow gets tighter. Flavor gets stale. The fix is simple: isopropyl alcohol plus a brush, and you are back in business in minutes.
If you want a deeper guide on modern materials and easy-clean design, read our post Modern Smoking Guide: Materials, Cooling, Cleaning
What you’ll need
- Isopropyl alcohol (70% works, 91% works faster)
- Warm water
- A small cup, glass, or container for soaking
- A medium bristle brush (bottle brush, straw brush, or similar)
- Our Tempest Field Kit comes with the perfect brush for cleaning
- Cotton swabs (optional)
- Paper towels or a clean cloth
- A toothpick or cleaning pick (optional)
- A zip bag (optional, great for shaking small parts)
- Coarse salt (optional, for pipes with no access to the inside)
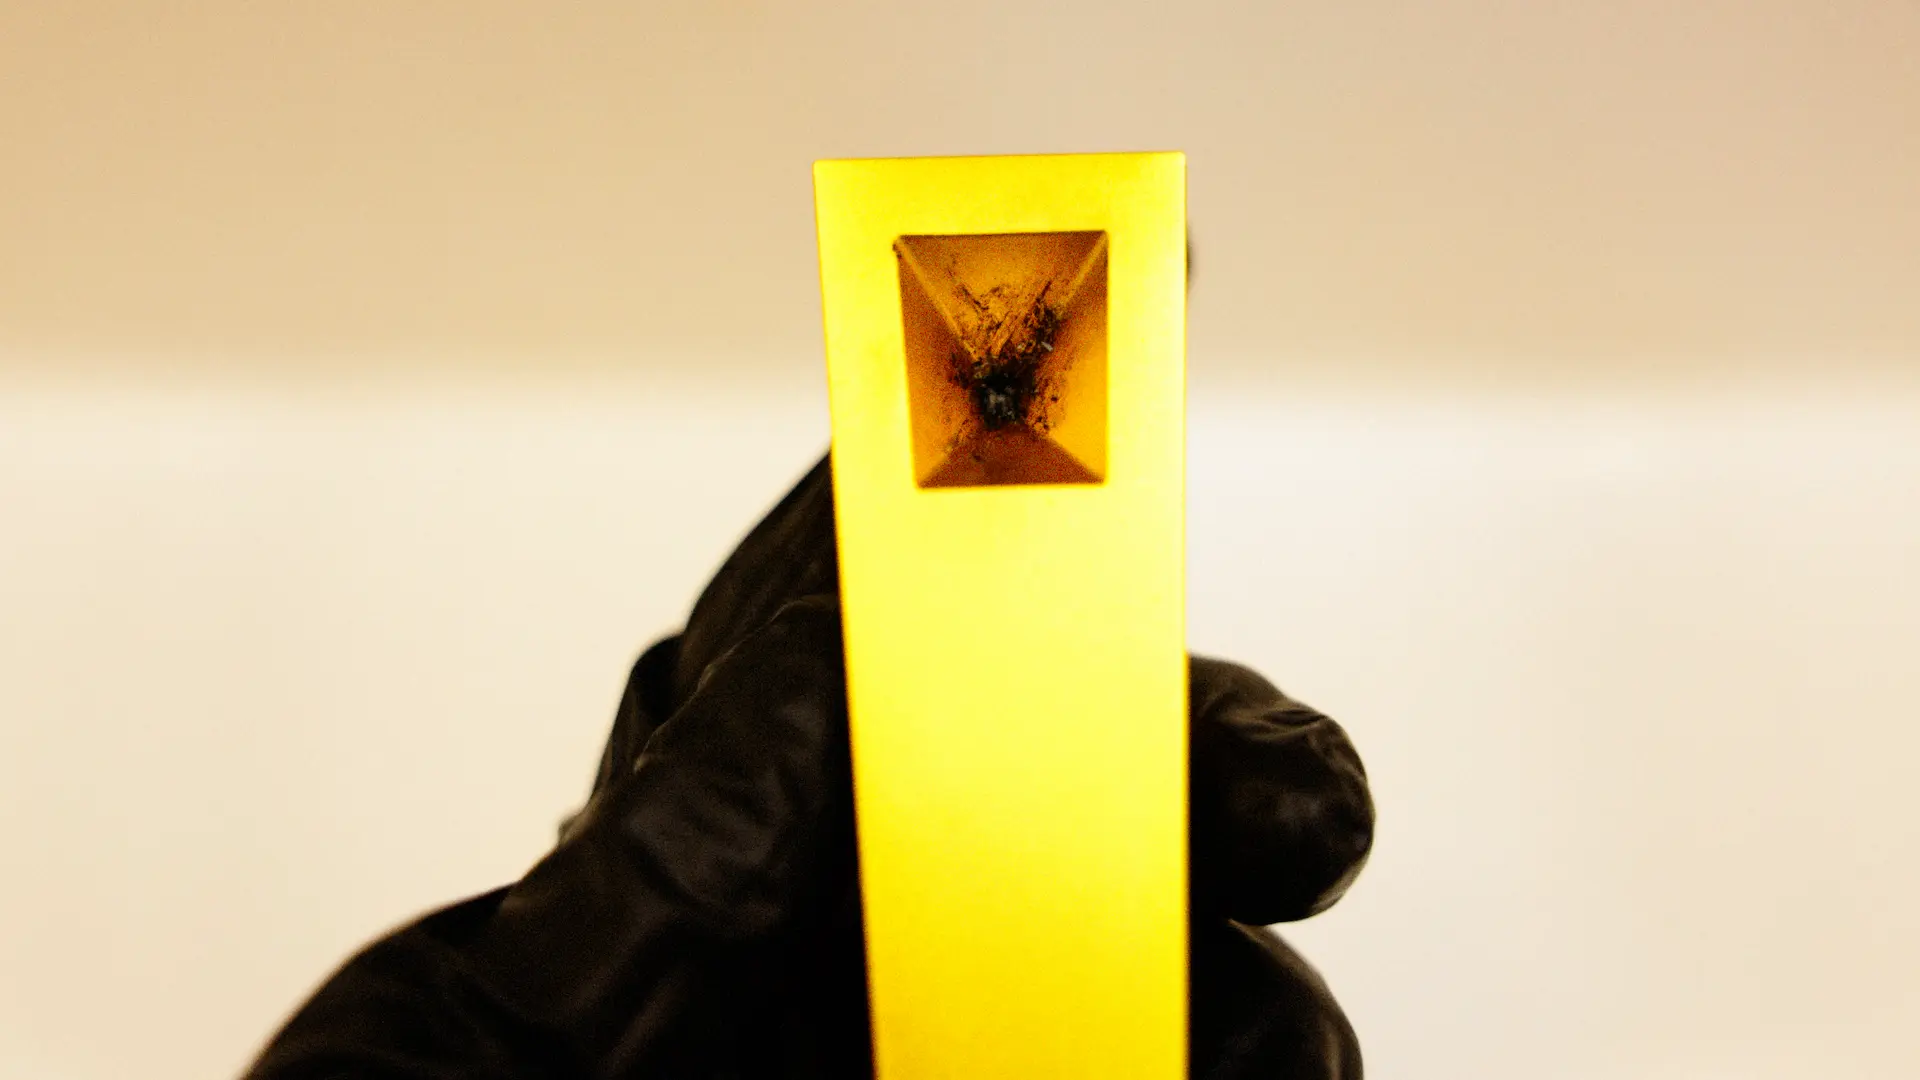
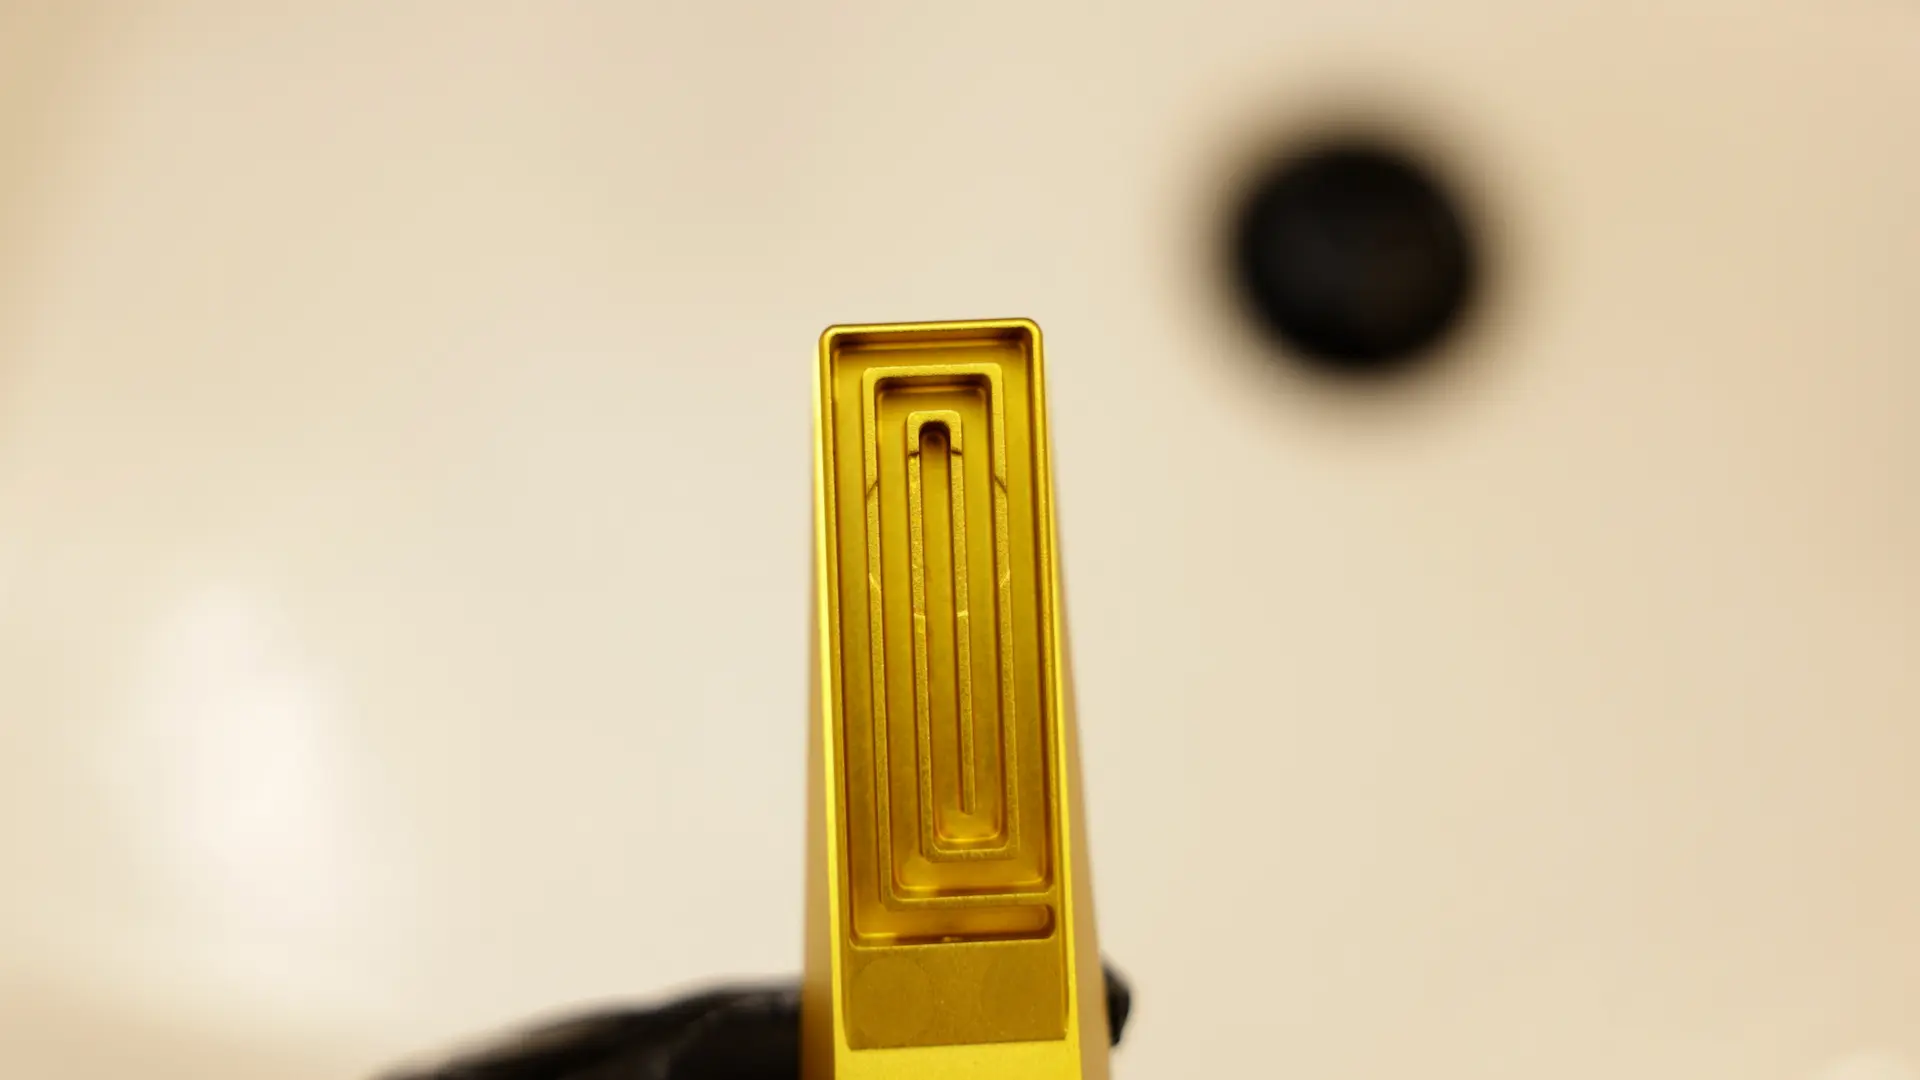
Step 1: Take it apart
If your pipe comes apart, do it. The goal is simple access. For example, two-piece metal pipes are easier to clean because you can reach every surface.
- Remove any parts that separate cleanly
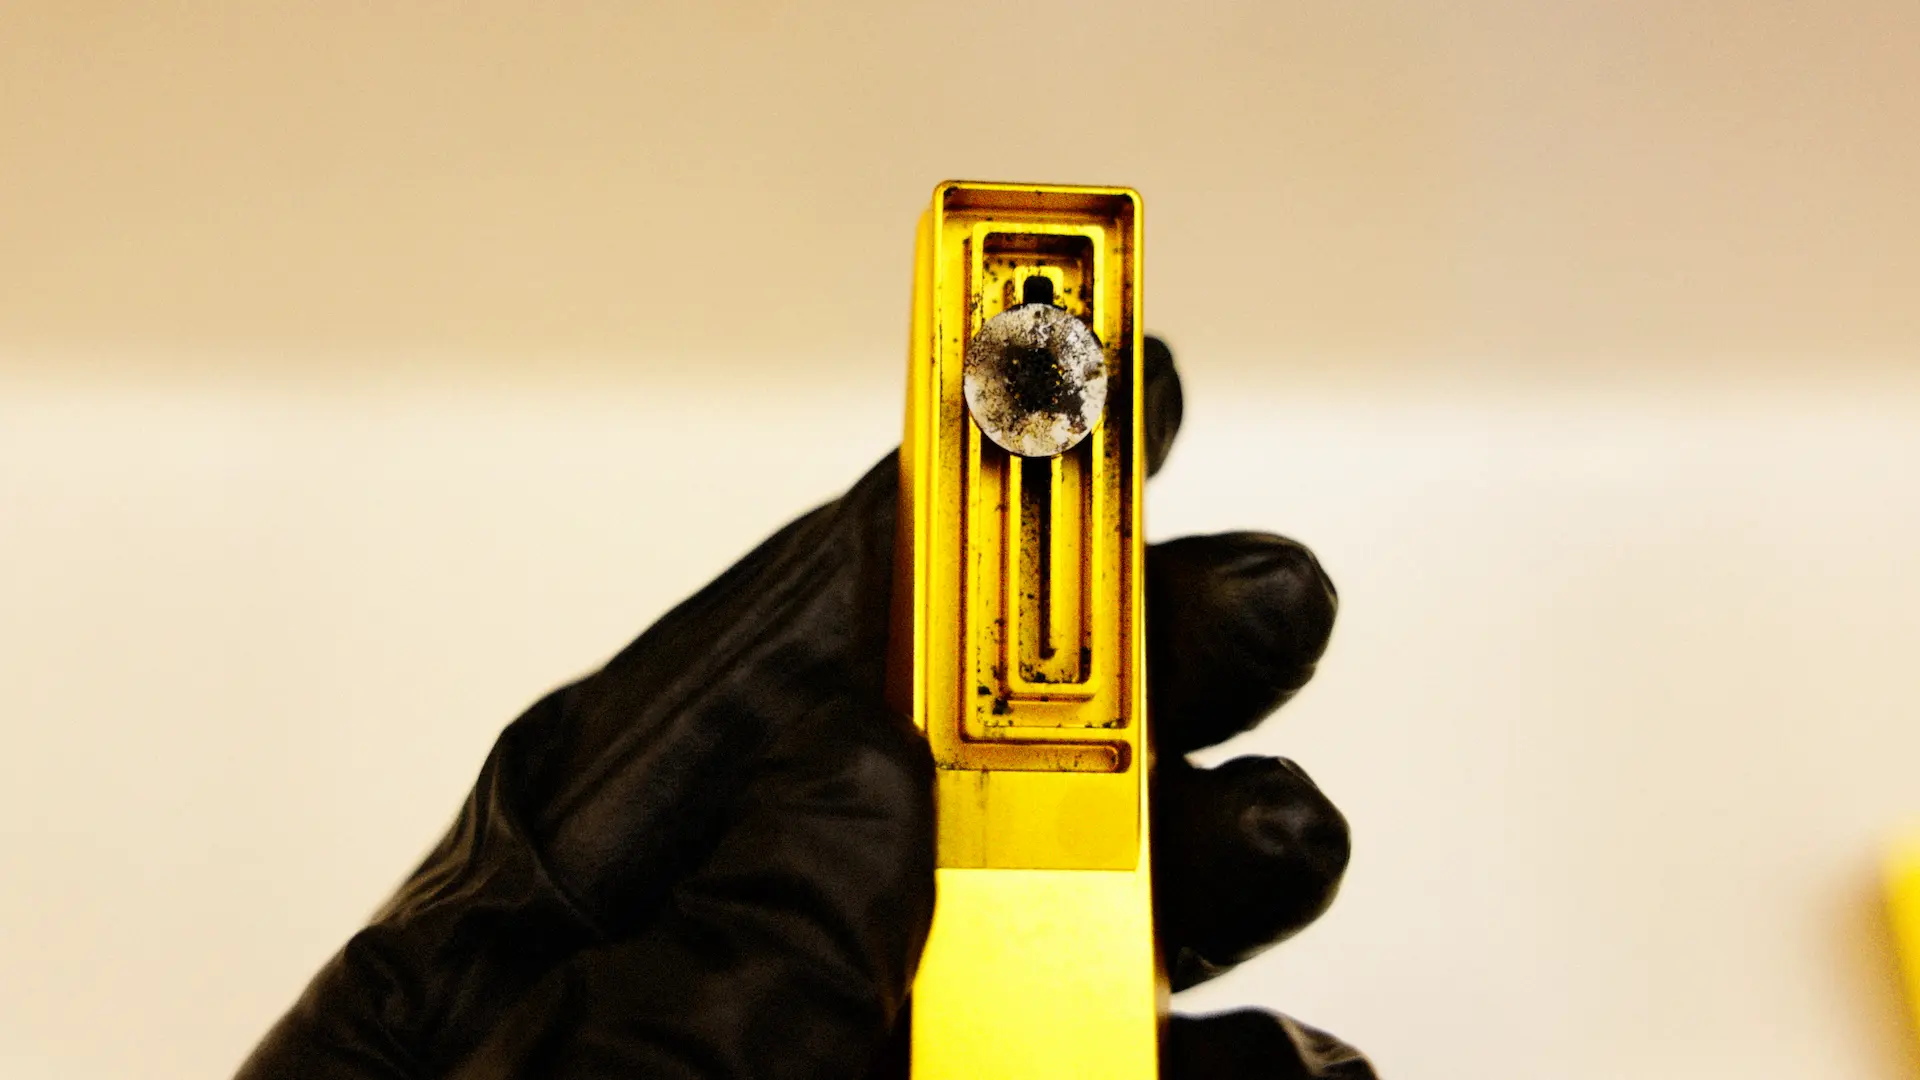
- Set aside screens or filters if you use them
- Knock out loose ash first so you are not turning it into sludge
To learn more about pipes that are designed to be taken apart check out our guide Upgrade To A Designer Smoking Experience
Step 2: Quick rinse (optional, but nice)
A quick warm-water rinse removes loose debris and helps the alcohol stay cleaner.
- Rinse the bowl area and any channels
- Shake off excess water
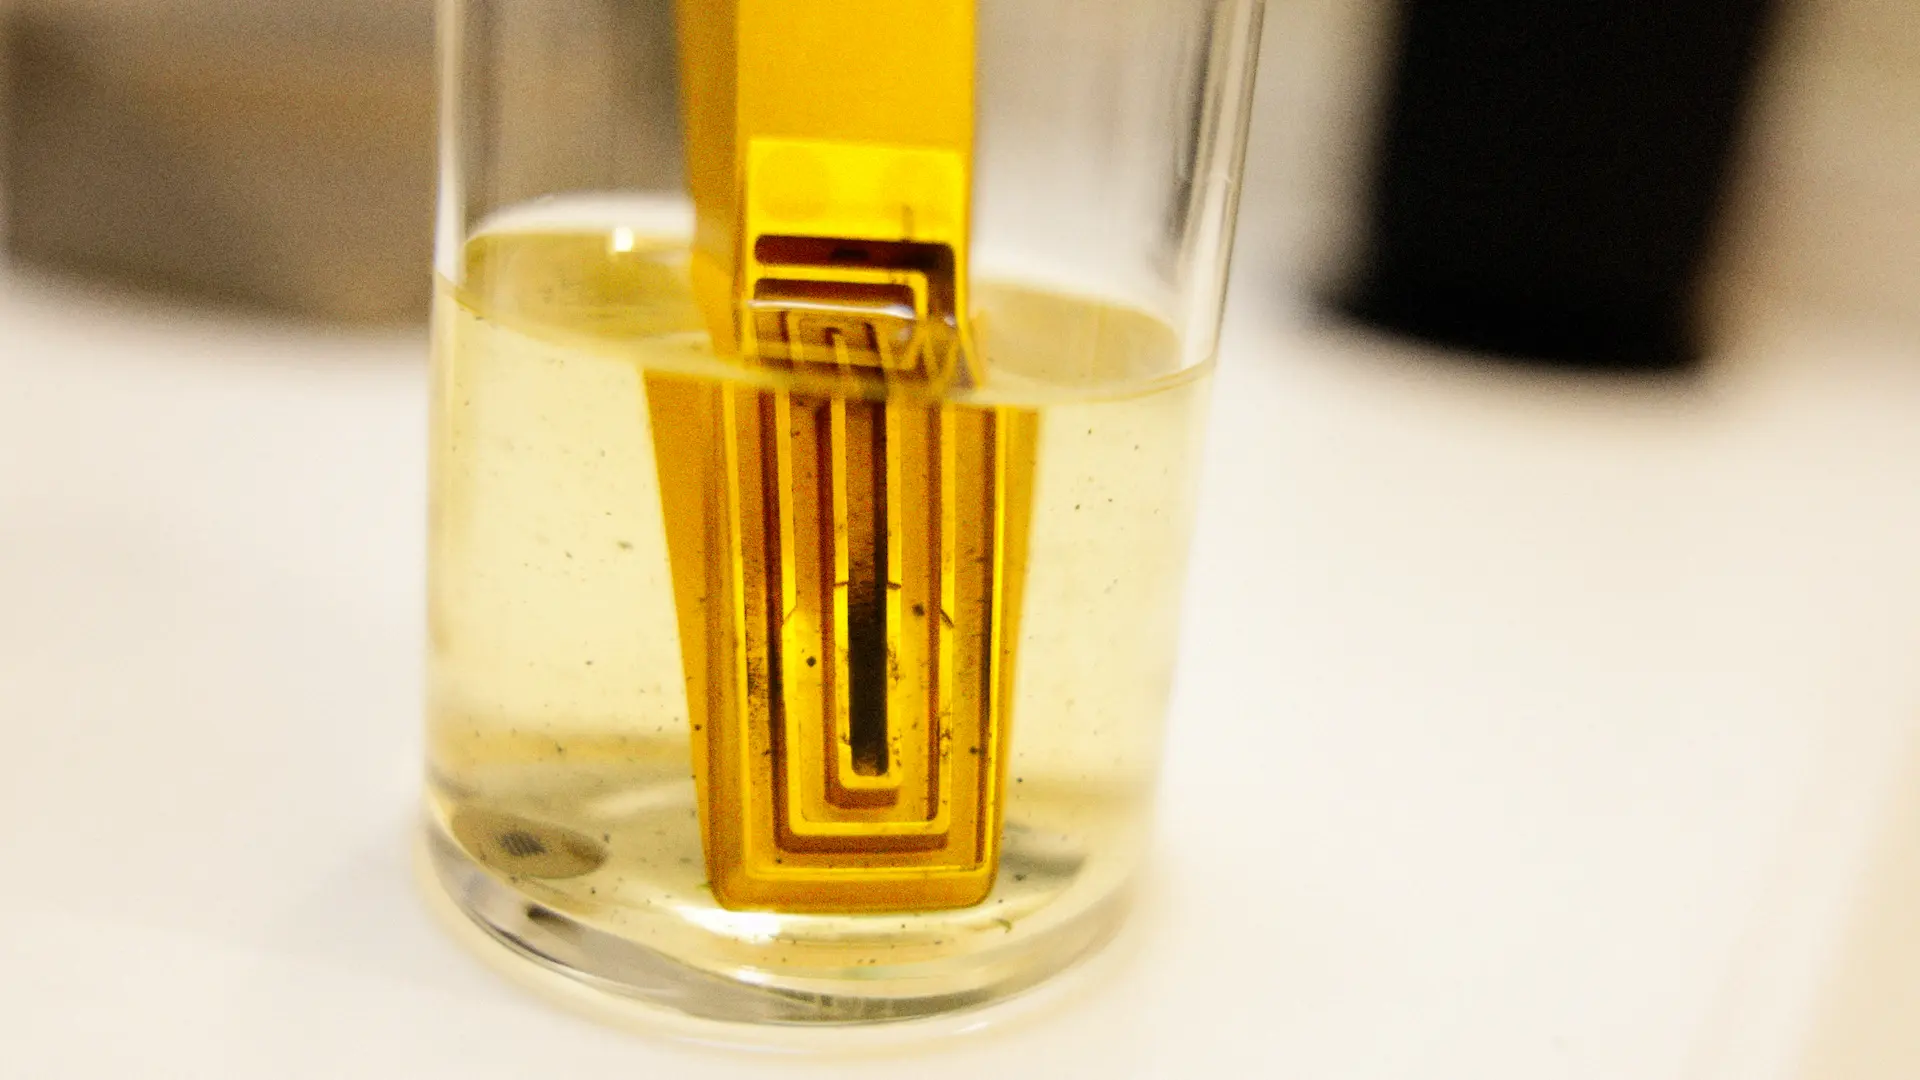
Step 3: Soak with isopropyl alcohol
This is the workhorse step. The alcohol dissolves sticky residue so you do not have to fight it.
For a light clean (routine maintenance):
- Soak 3 to 5 minutes
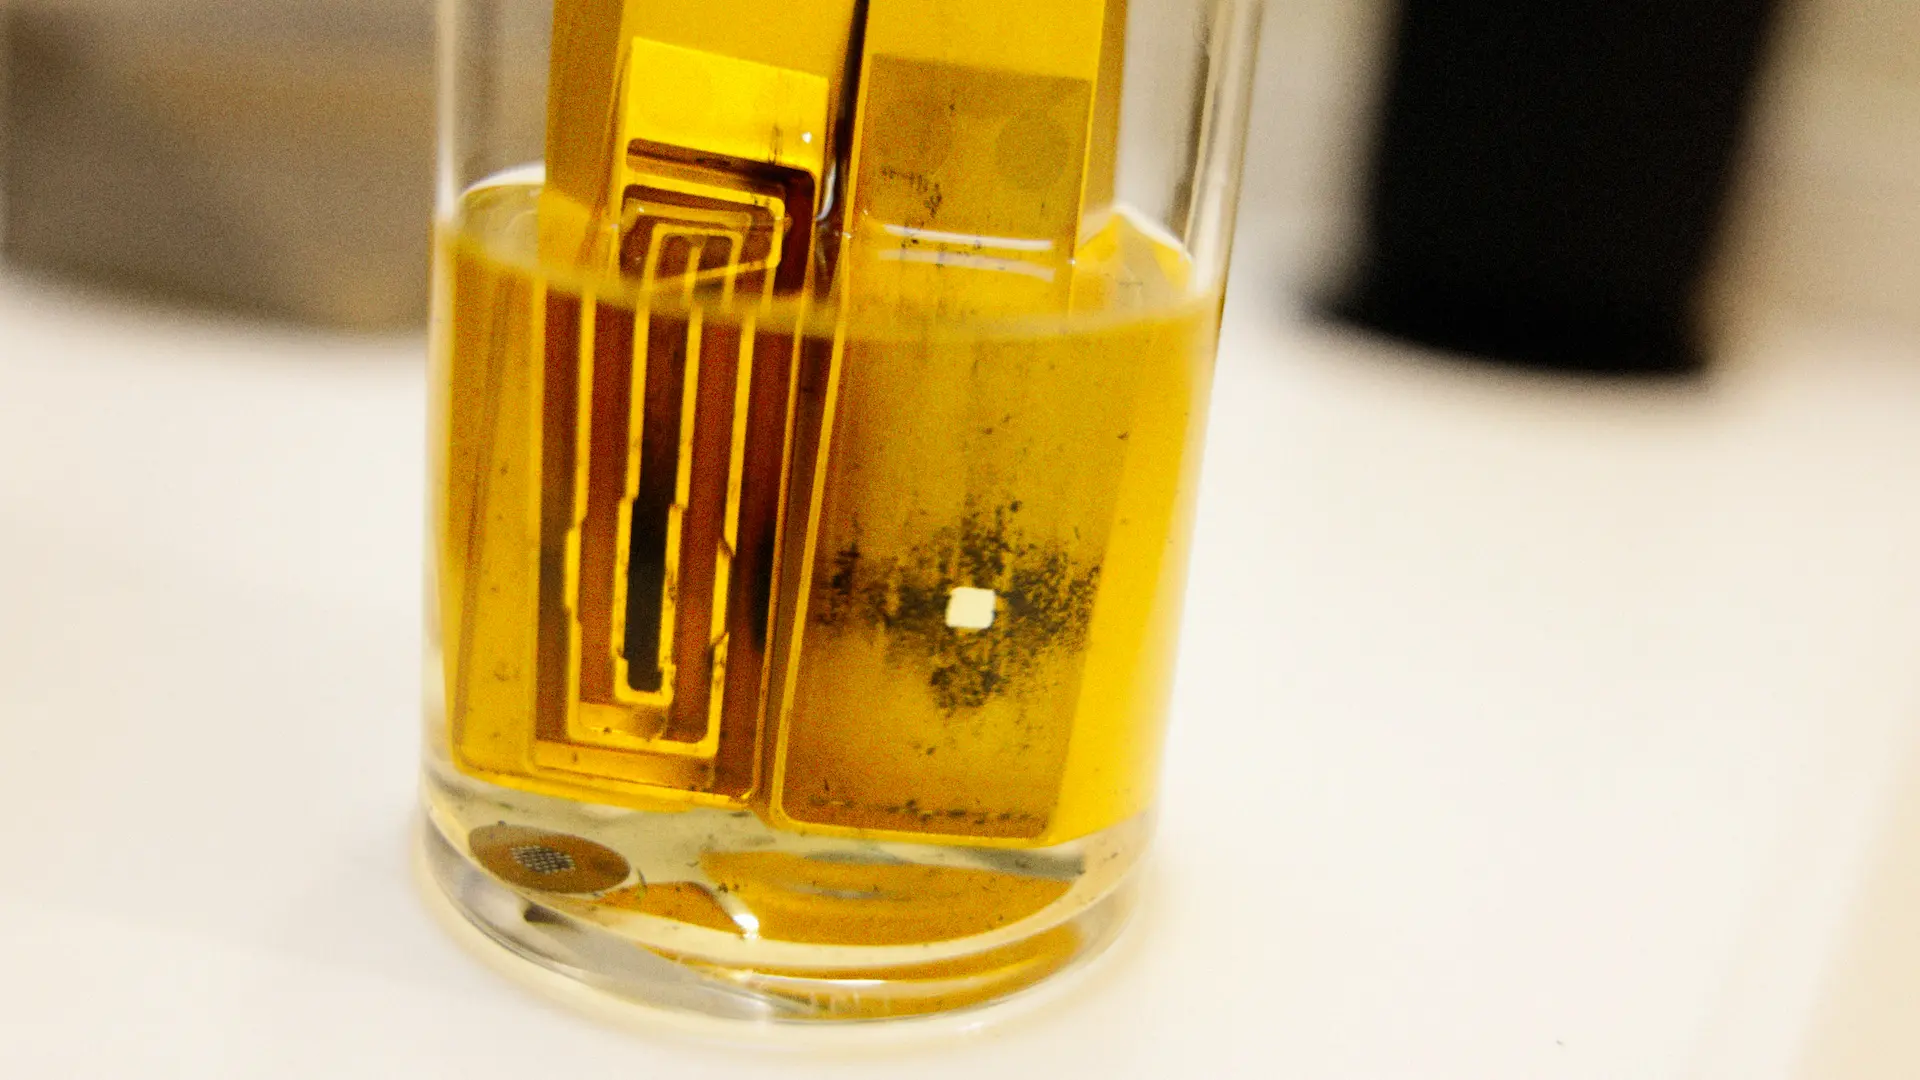
For a deep clean (heavy build-up):
- Soak 10 to 20 minutes
How to soak:
- Add enough isopropyl alcohol to fully cover the bowl and internal areas that collect residue
- If you are using a bag, put the parts in, add alcohol, seal, and gently shake
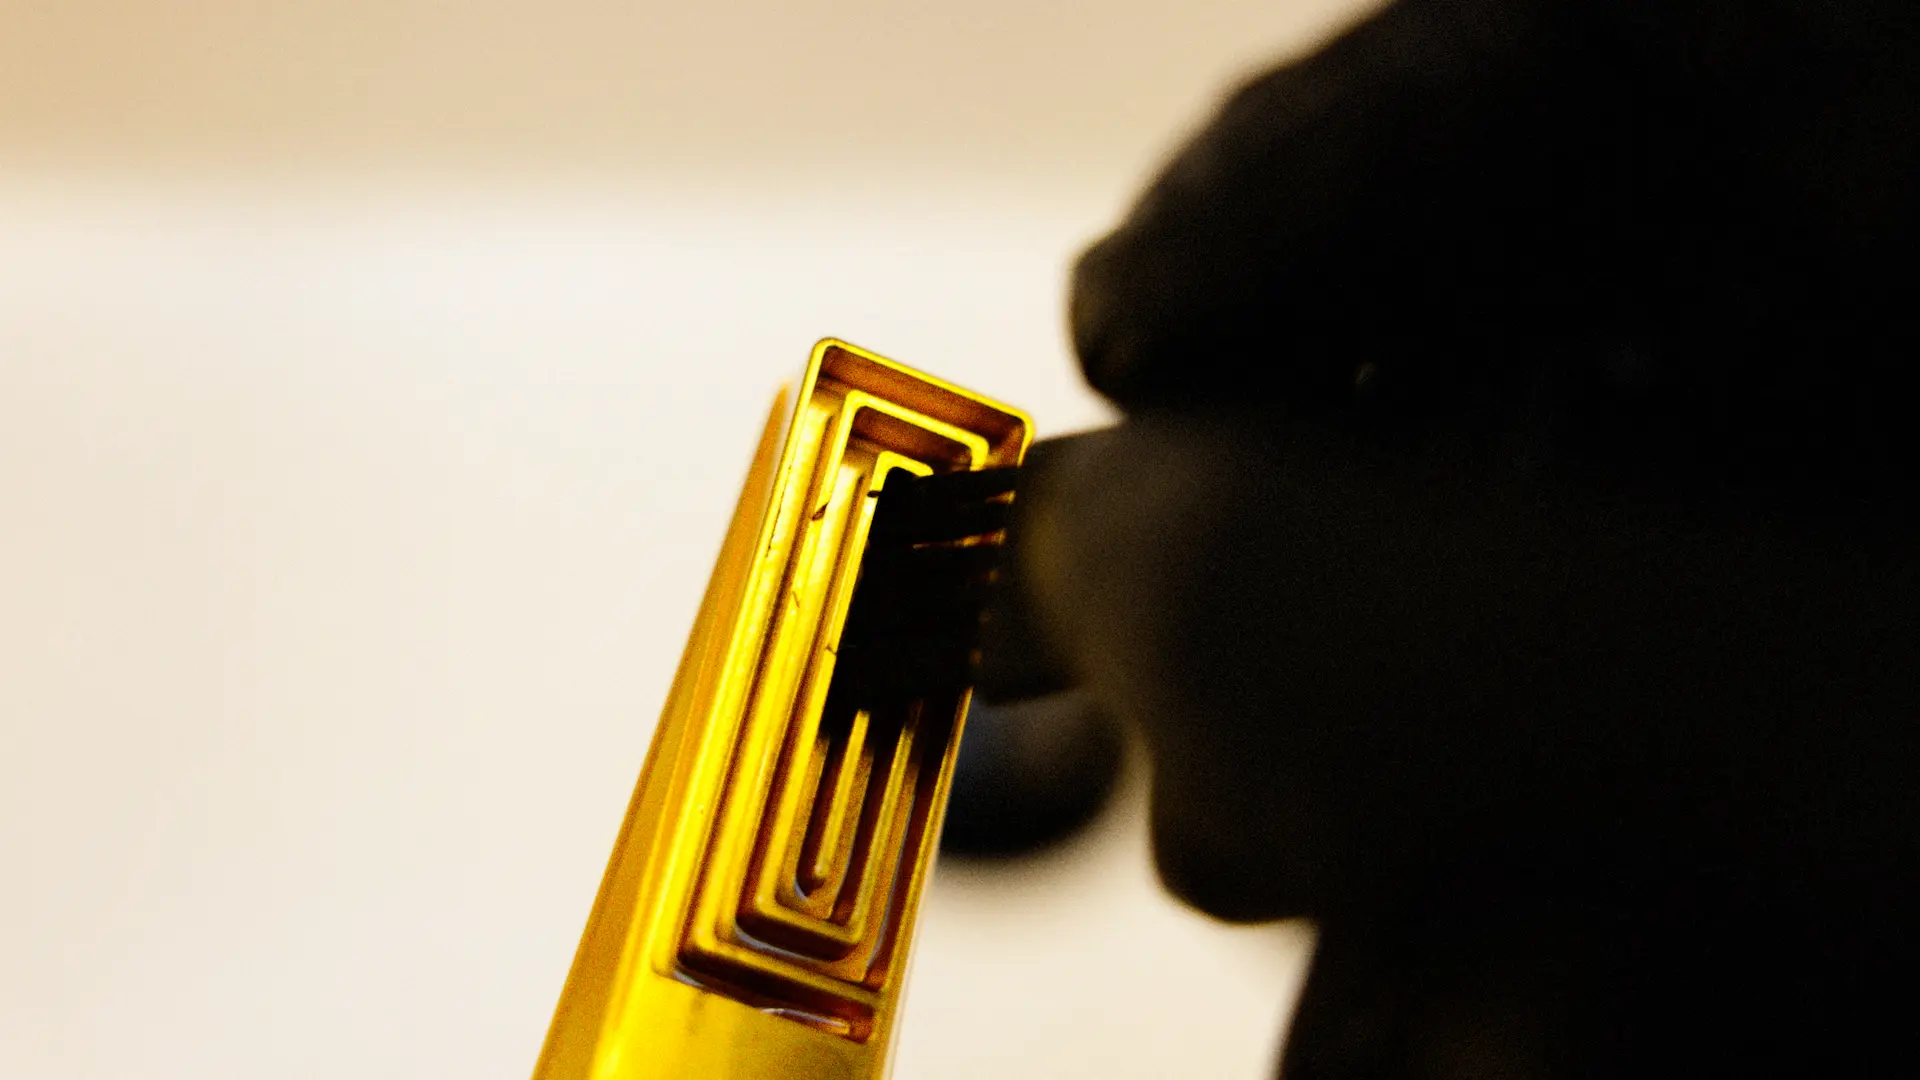
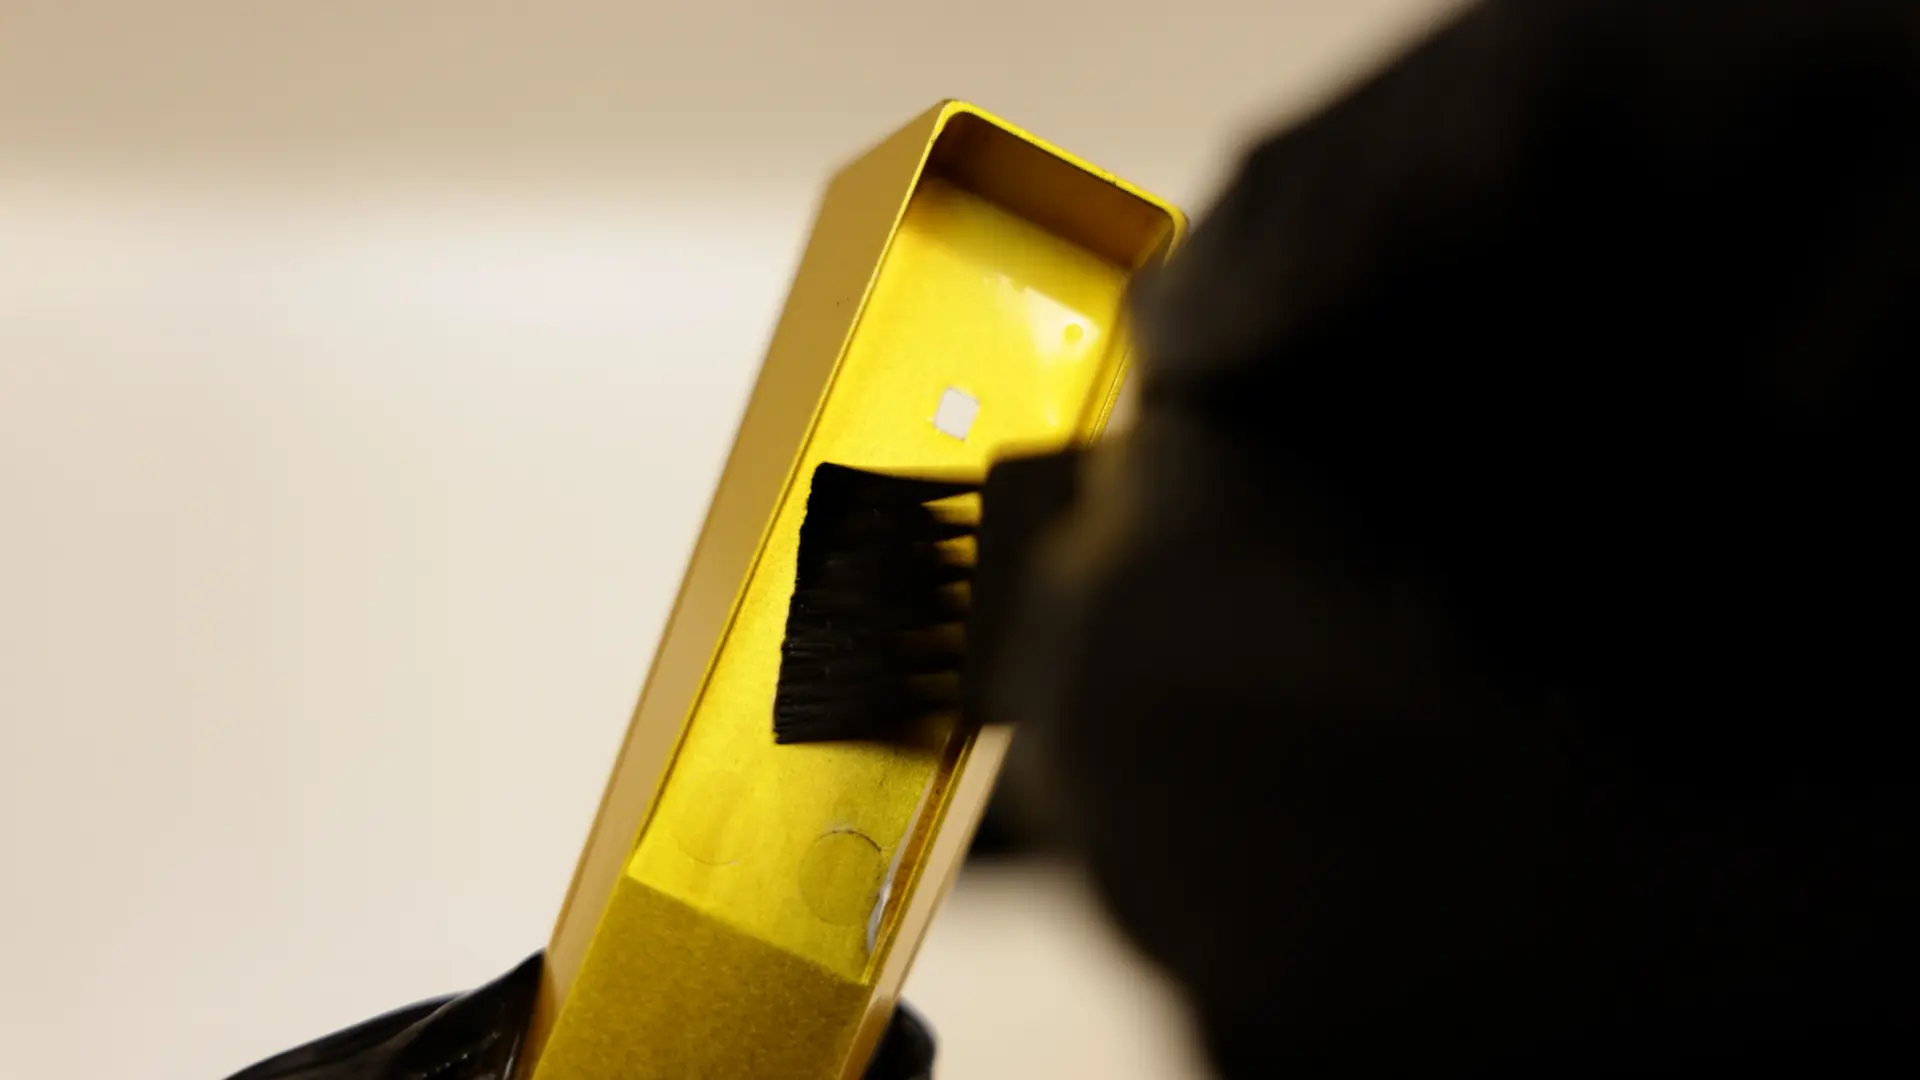
Step 4: Brush it out
Now the residue should lift fast.
- Scrub the bowl first
- Then scrub the airway or internal path
- Use swabs for corners or tight edges
- For stubborn spots, dip the brush in alcohol and hit it again
Optional upgrade for nasty build-up:
- Add a pinch of coarse salt to the alcohol in the bag or container (only for glass or pipes with no access to the inside)
- Shake gently, then brush
Step 5: Rinse thoroughly
Rinse with warm water until there is no alcohol smell left.
- Rinse every surface you soaked or scrubbed
- Run warm water through any channels
- Shake out excess water
Step 6: Dry completely
Dry it well before reassembly.
- Pat dry with a towel
- Let it air dry a few minutes
- Pay attention to internal channels and seams
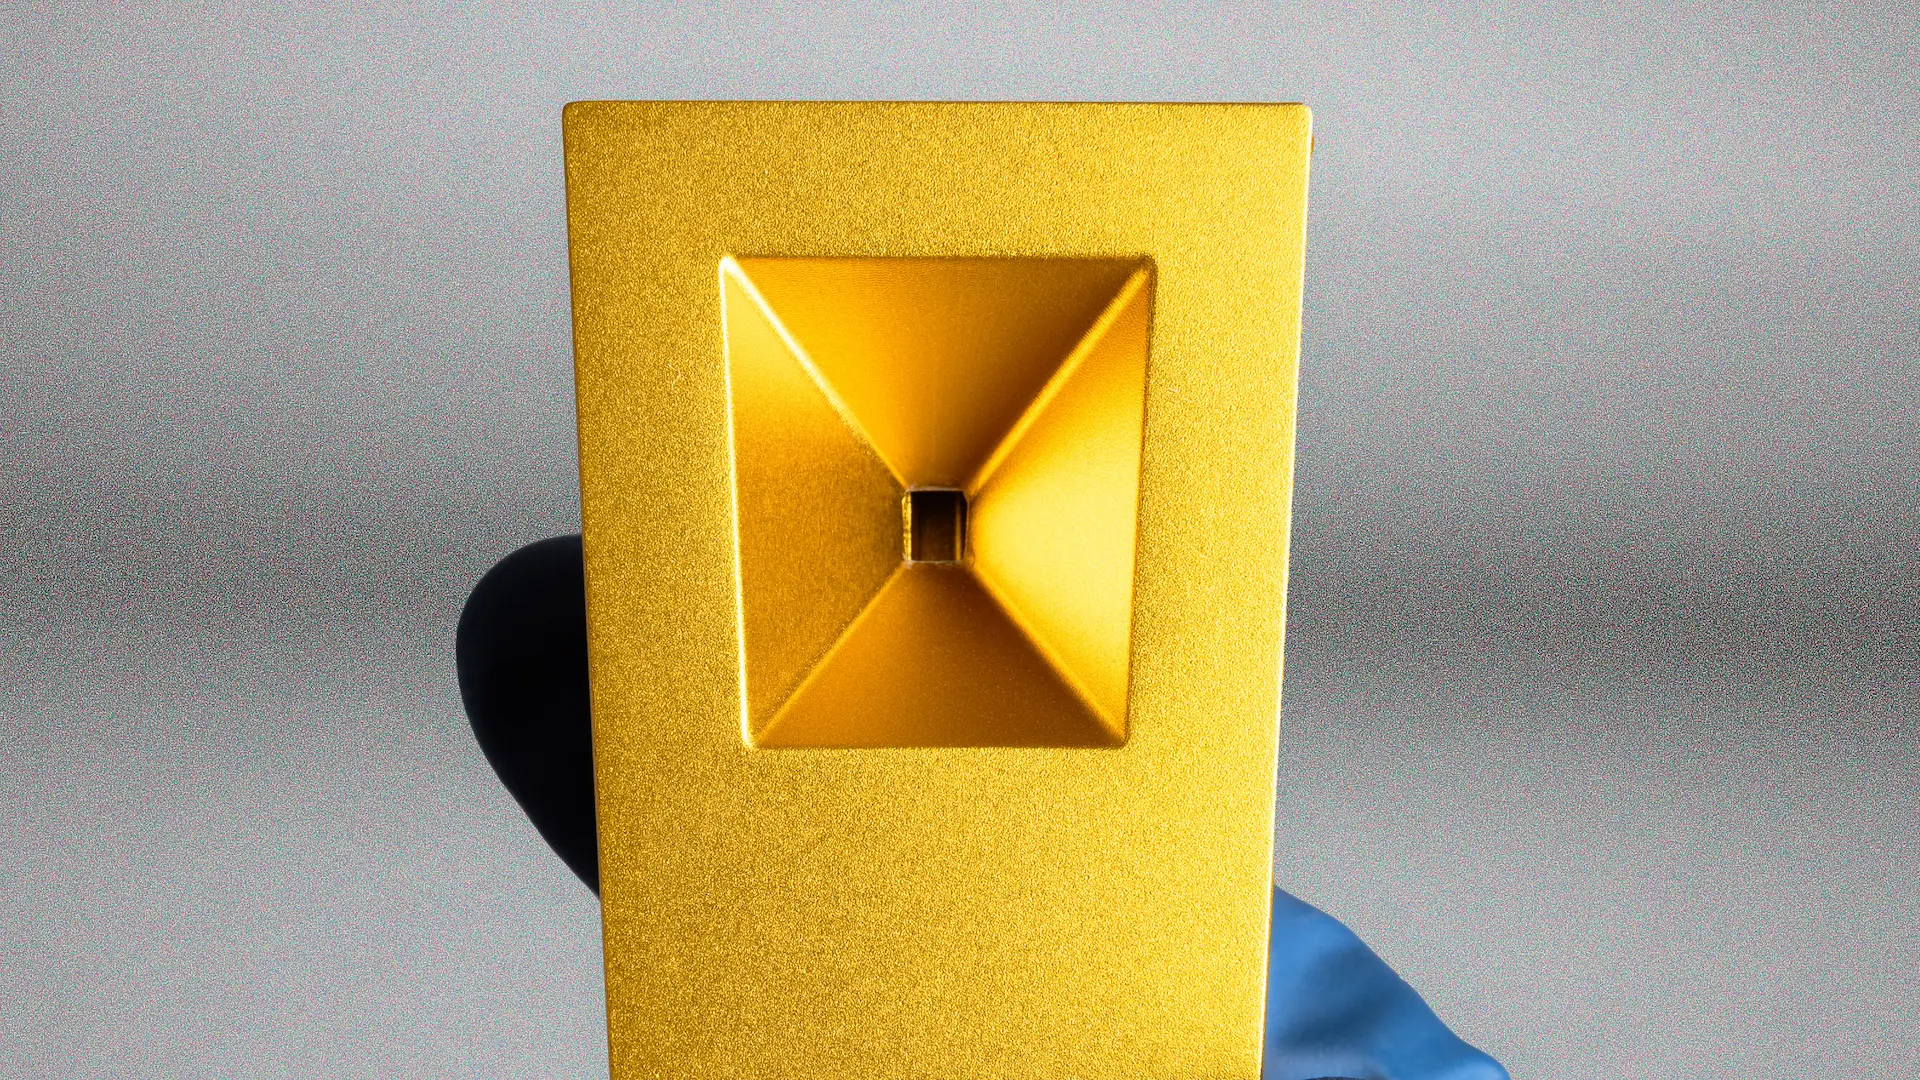
Step 7: Reassemble and do a quick airflow check
Put it back together and enjoy having a like-new pipe again.
To learn more about engineered airflow in design, read our guide about pipes with engineered airflow
Extra tips that make this faster (and keep your pipe nicer longer)
- Clean more often, soak less. Light routine cleans are faster than occasional deep cleans.
- Keep a small cleaning cup nearby. If the setup is easy, you will actually do it.
- Use two brushes: one for the bowl, one for internal paths.
- Swabs are perfect for corners. Especially around the bowl edge.
- Do not over-soak soft parts. If your pipe has silicone or gaskets, keep soak times short or avoid soaking those parts.
- Screens and filters clog first. Replace or rotate them instead of forcing airflow through a clogged piece. Click here to read our Titanium Filter Guide.
- Warm water rinse at the end matters. It is what makes it feel truly clean.
- Let it dry fully before storage. Moisture in tight seams turns into funk fast.
- If you hate scrubbing: soak a little longer and brush less.
Closing
That’s the whole method: take it apart, soak, brush, rinse, dry.
No boiling water. No weird hacks. Just isopropyl alcohol and a few smart moves.
If you want a metal pipe designed to clean fast, check out the Tempest.